Hosting a Zoom session? Here’s your pre-flight check!

So, you’re going to run a Zoom session and you’re expecting a crowd? No worries! We’ve pulled together the best tips from some regular Zoom facilitators to create this ‘pre-flight check’.
 Zoom session starting in 5 minutes?
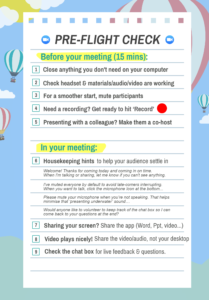
Don’t panic – grab this A4 printout of the tips below to keep by your computer (just click to download)
If you’ve never heard about Zoom, read our intro and get into Zoom by signing up for a free account. Try just calling a couple of colleagues to familiarise yourself with the look and feel.
Okay, headphones on? Let’s get started…
1. Close anything you don’t need on your computer (15 minutes before)
Keep your screen ‘clean’ so you can focus on your session. Close any documents and applications you were working on if you don’t need them when you’re in Zoom. This includes your email and those half dozen websites you were browsing – you don’t want a message to pop up on-screen while you’re presenting, and you probably don’t want to share your online shopping habits with your participants!
2. Check your headset and any materials/audio/video are working (10 minutes before)
We’d always recommend using a headset unless you’re in a completely noise-free area – the sound quality for other participants will be so much clearer that way. Try and grab a colleague to come into the session as a participant and let you know if anything looks or sounds strange. Now is also a good time to get your slides/video/other materials open and ready. Some presenters like to ‘share screen’ and start the PowerPoint before anyone else arrives.
3. For a smoother start, mute participants
(Under Manage Participants > More). If you want to get going without interruptions, muting participants avoids disruption from late-comers and minimises distractions as you welcome people. Once you start presenting, it can certainly feel strange not being able to hear people (you might feel like you’re talking to yourself) but you can check in with your participants in the chat box as you go to get feedback (see below).
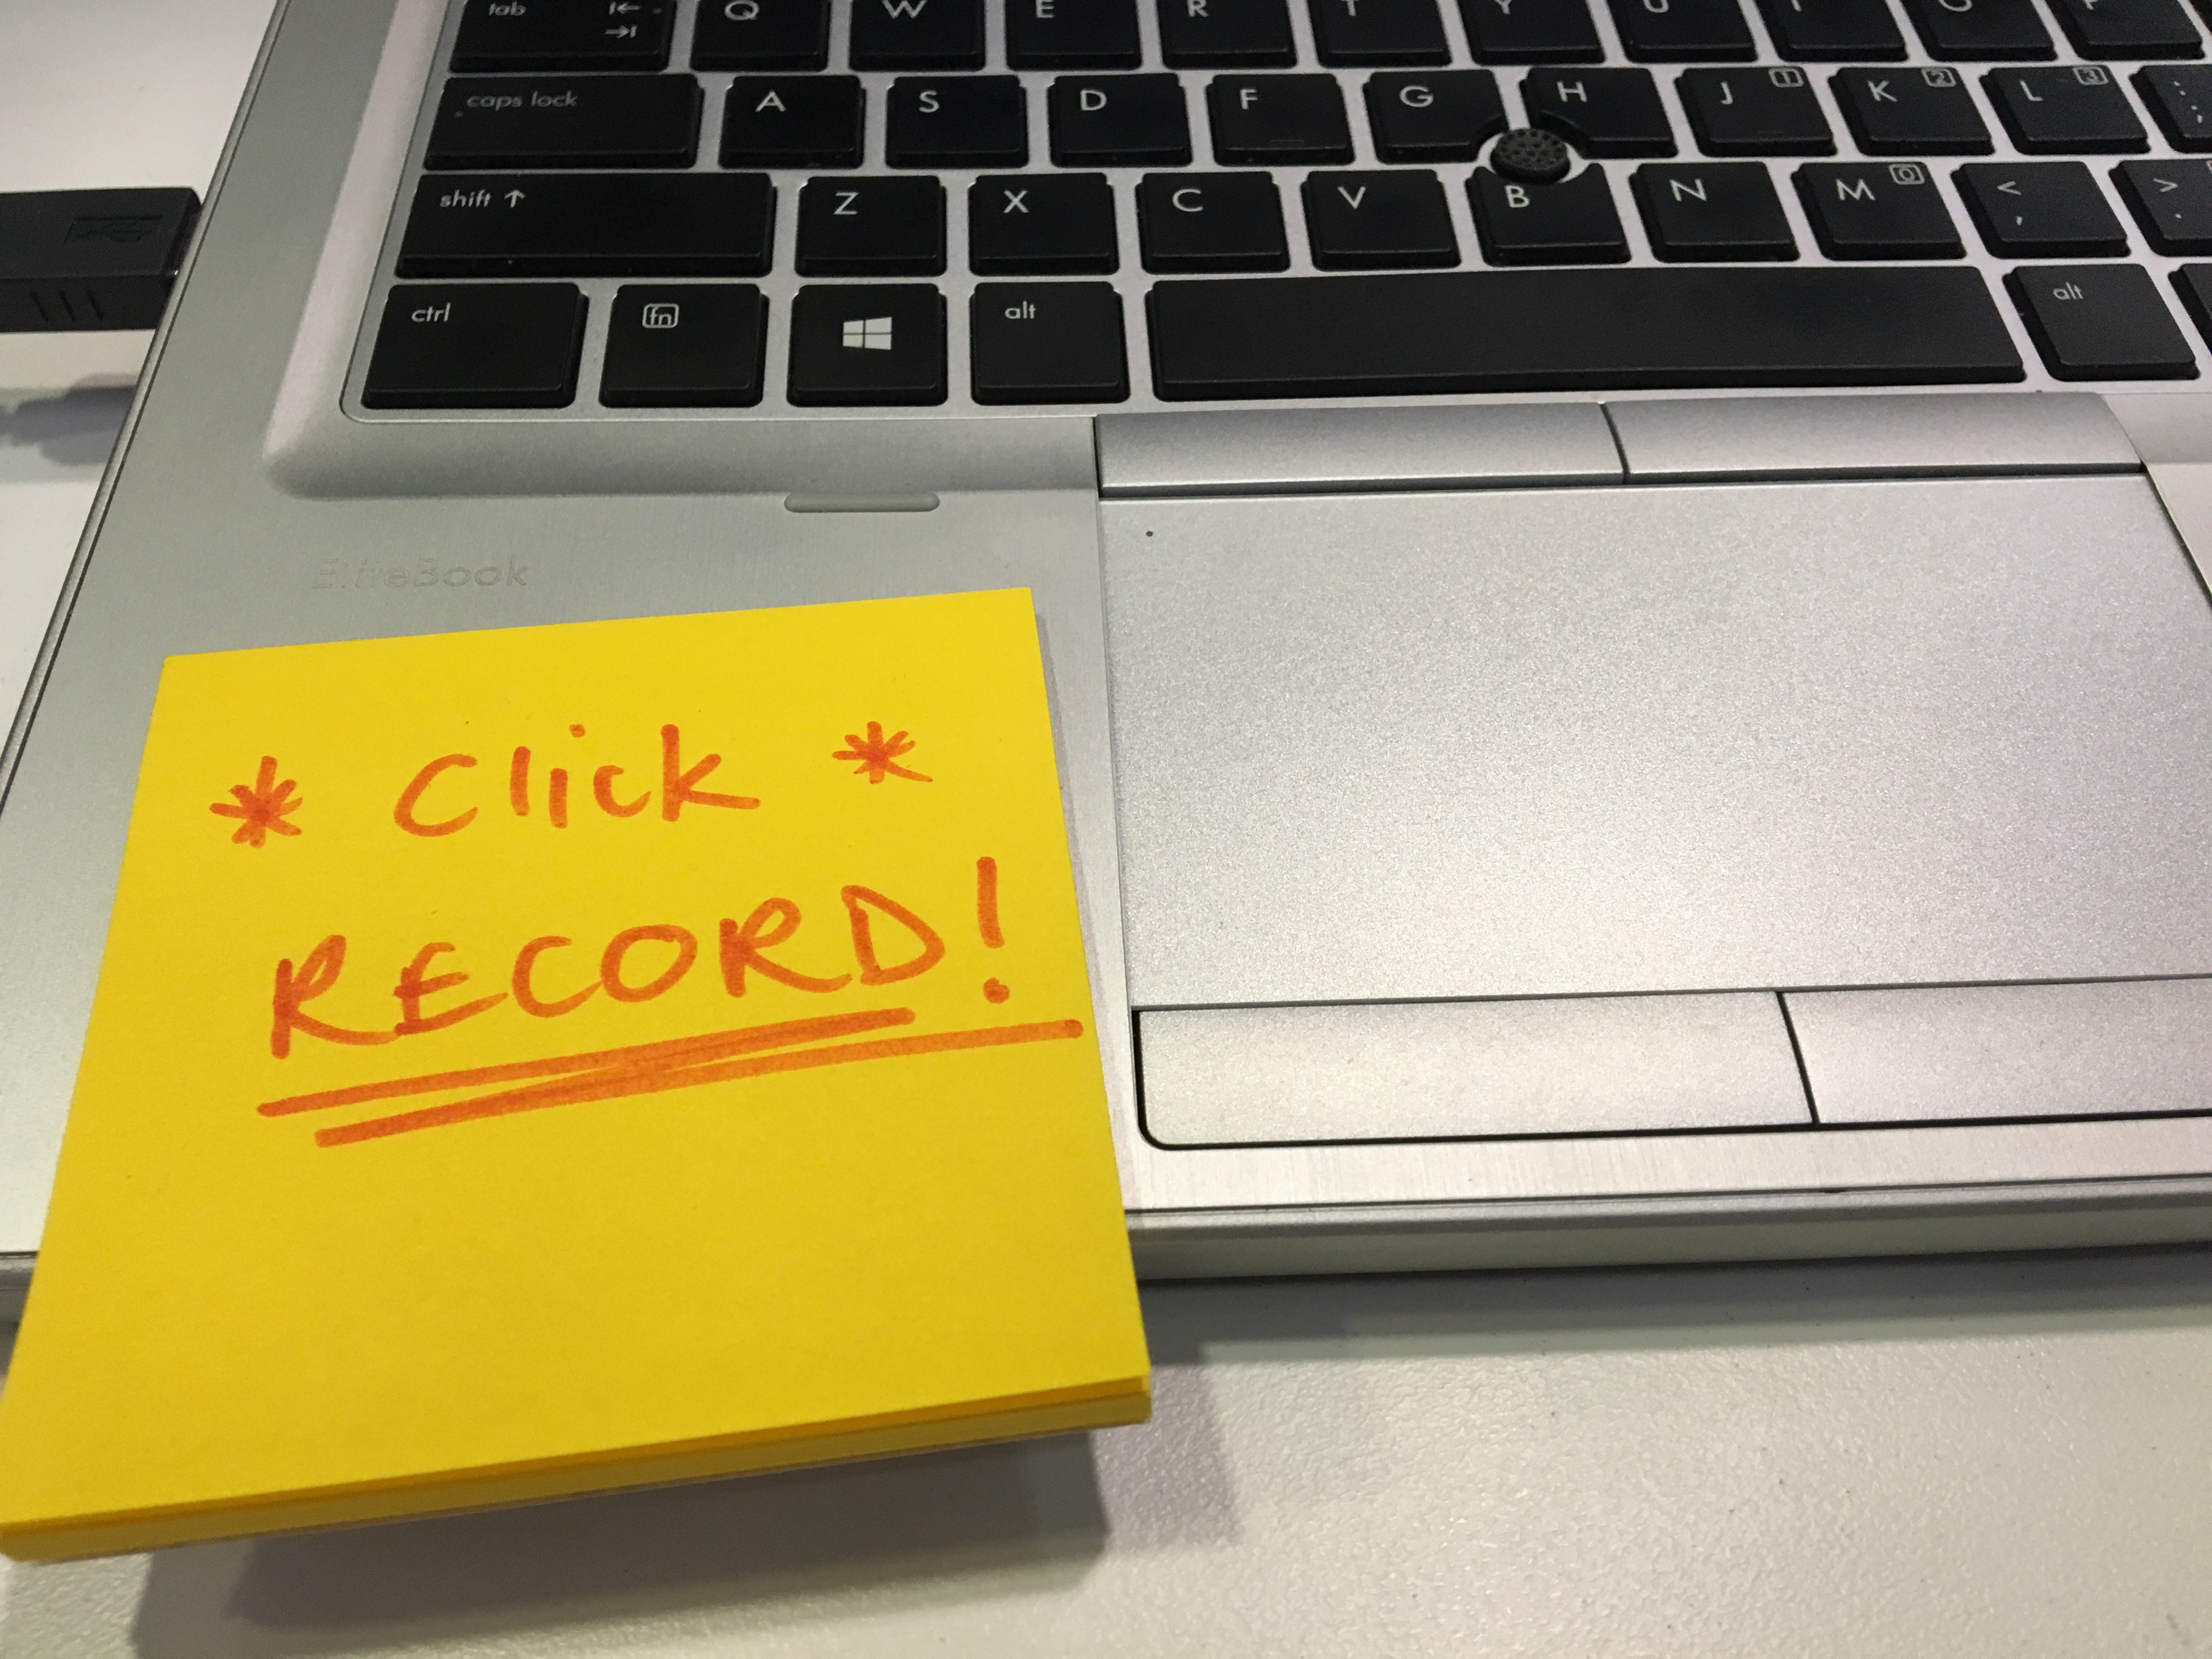
4. Need a recording? Get ready to hit the ‘Record’ button.
Zoom takes such nice videos and uploads them for you to your cloud account (or computer, depending on how it’s set up). Some of our regulars write a reminder on a post-it to make sure they don’t forget…
5. Presenting with a colleague? Make them a co-host.
You can grant another participant permission to be a host of the meeting (which means they can move slides along and help out with other things like muting and unmuting participants).
6. Knock, knock! Housekeeping!
Help everyone feel comfortable with the platform and what they’ll be doing during your session. Some popular lead-ins include:
- Welcome! Thanks for coming today and coming in on time. A quick moment for housekeeping…
- I have muted everyone by default so we won’t be disrupted by late-comers. But, when you want to talk just click the microphone icon in the bottom bar to mute or unmute yourself. You can also choose to have your camera on or off.
- Please mute your microphone when you’re not speaking. That helps minimise that ‘presenting underwater’ sound… and interruptions from your barking dog.
- When I’m talking or sharing my screen, please write in the chat box and let me know if you can’t see or hear something.
- You’re welcome to use the chat box throughout. I may not be watching closely when I’m talking but I’ll do my best. Would anyone like to volunteer to keep track of the chat box so I can come back to your questions at the end?
7. Sharing your screen? Share the application (PowerPoint, Word etc) not your whole desktop!
One lovely thing about Zoom is that you don’t need to upload your materials beforehand – you can just have them ready on your computer. When you click “Share Screen” just pick which application you want to share. This helps avoid people seeing other parts of your computer (like an email notification). If you need to switch (e.g. to go to a video), it’s really easy to just click the “Share Screen” again and select a different application.
8. Surprise! Video streams really nicely.
It’s so rare with video conferencing to be able to play a video on your computer for other people to see, but so far Zoom seems to do this seamlessly! We’ve all tried sharing video in other programs and it is glitchy and pixellated, but Zoom handles it without a hitch. Just don’t forget to tick “Share computer sound” when you are choosing the video you want to share.
9. The chat box is your friend, not a distraction.
You may feel a bit alone in the silence when everyone is muted, but chat boxes can be used really efficiently to get a feel for how your audience is reacting. Anyone can chat throughout your session, and it’s good to remind participants of this along the way. Sometimes, people use it to show they agree or to ask questions – and it often brings out the quieter participants who might not ask questions face-to-face. If you’re not comfortable or able to keep an eye on the chat during your presentation, just take a minute to scroll through at the end or you could ask someone in attendance to keep an eye on it and read out questions at the end. This can help enhance your participants’ engagement too!
Finally, don’t feel like you need to use all the tools and features at once; add a tool as you become more confident, and experiment with colleagues before you do any high pressure sessions! There are all sorts of extra tools and tips. If you would like step-by-step instructions including screenshots, or more technical tips, check out Zoom’s Support article.
We look forward to seeing you in a Zoom session soon!